Simple 5 step guide to setting up https with your own self-signed certificate
Prerequisites: Apache2, Ubuntu Server
- Generate local keypair
/usr/bin/openssl genrsa -des3 -out {your domain name}.key 3072 - Create self-signed certificate
/usr/bin/openssl req -new -key {your domain name}.key -x509 -out {your domain name}.crt
- Configure your host on port 443 to use the certificate
<VirtualHost {your ip}:443>

...
SSLEngine on
SSLCertificateFile {path where certificate is}/{your domain name}.crt
SSLCertificateKeyFile {path where key file is}/{your domain name}.key
SetEnvIf User-Agent ".*MSIE.*" nokeepalive ssl-unclean-shutdown

...

</VirtualHost> - Optional: If you do not want to enter key password each you restart Apache, you can embed the password in key itself.
/usr/bin/openssl rsa -in{path where key file is}/{your domain name}.key -out {path where key file is}/{your domain name}.key.nopass
Remember to update your Apache configuration to use the new file
# SSLCertificateKeyFile {path where key fileis}/{your domain name}.key

SSLCertificateKeyFile {path where key file is}/{your domain name}.key.nopass - That’s it view it. Restart your apache to load the new configuration. And try accessing your url with https://
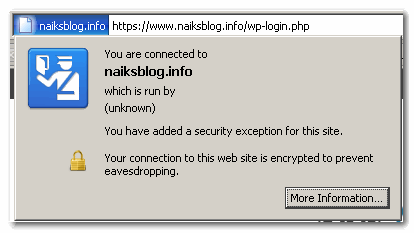
If you receive a certificate warning, simply accept it, and proceed. Congratulations, your communication is now encrypted, and safe from prying eyes!

Leave a Reply